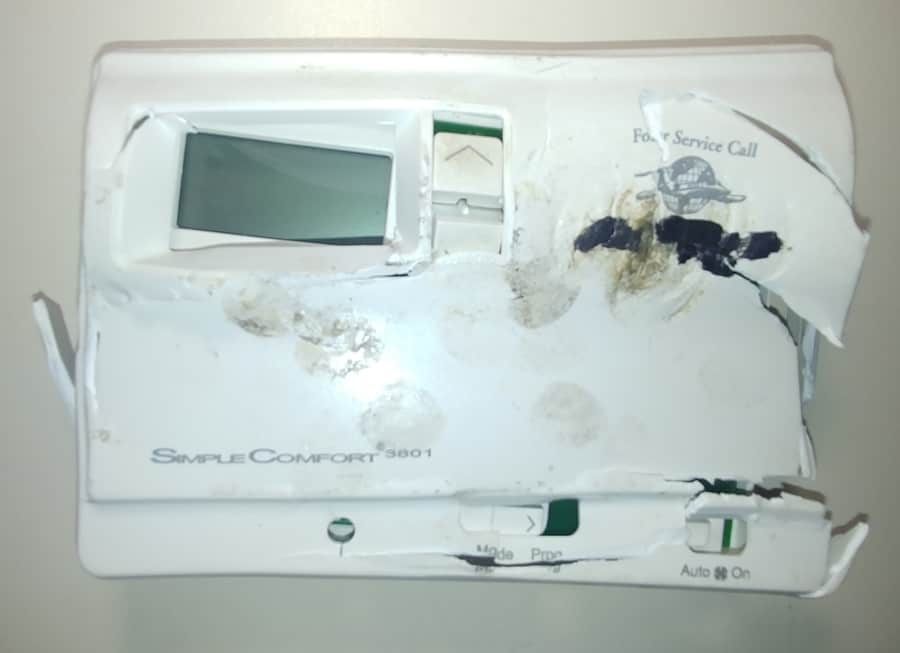
Your thermostat is broken if you become irritated every time you try to set the temperature and it doesn’t respond the way it’s expected to. It could be just loose on the wall or the LED screen partially gone blank. With these simple tests you can diagnose your thermostat problems in minutes.

Most home heating thermostats are 24 volts. This post is not about baseboard heat thermostats. They typically range in the 125 volt vicinity or household current, so don’t look for answers here.
If your furnace or ac is not turning on and you suspect the thermostat please read thoroughly the next several paragraphs so you can safely determine if your thermostat is defective and if this article applies to your thermostat.
This article is about 24 volt thermostats only. 24 volts is a safe voltage to work with and you shouldn’t even have to touch the wires. You can determine the voltage with the model number of the thermostat.
It’s pretty much a given if you have a conventional forced air gas furnace, heat pump, or even oil heat then you likely have a 24 volt control on the wall. You may even see 24 volts or 24V written on or in the thermostat.
If it’s not written anywhere in or on the stat, try removing the thermostat cover, you should be able to read the model number somewhere. You may even have to remove the thermostat to read a model number behind the stat.
Search online for the make and model number and find the voltage. Once you have confirmed the voltage to be 24 volts we are good to go here.
If your thermostat is non-programmable or not digital, don’t jumper any wires without removing or disconnecting the red wire or the wire on the “R” terminal.
You could short out the heat anticipator if you jumper the “R” and “W” terminals. If you are wondering what a heat anticipator is you can go here and read my article all about what they are and how to adjust them.
Now that you’ve removed the thermostat or gained access to the wires be sure the red wire is disconnected from the thermostat if it is not digital. I know I’m repeating myself, but it’s important stuff.
Now that you have the stat off the wall, check to see if the red wire is on the “R” terminal and the white wire is on the “W” terminal. If so, make a small jumper wire and place the jumper across the two terminal, R & W.
If the heat comes on then your thermostat is a defective. Jumper “R” & “Y” to test the cooling. Jumper “R” & “G” to test the fan.
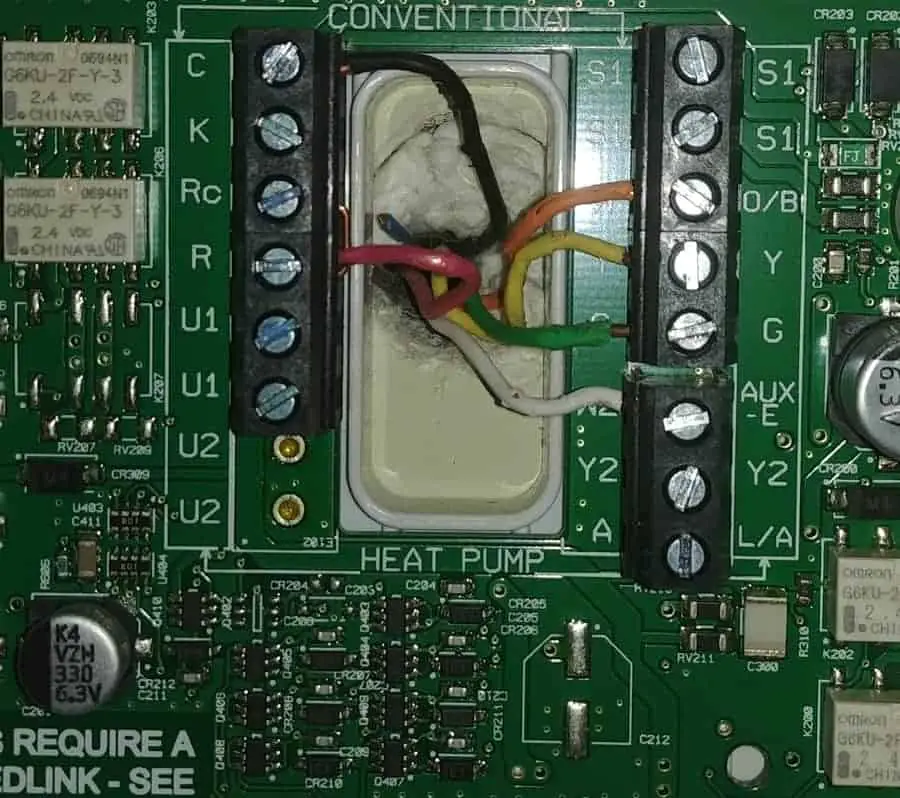
Heat pumps are a little trickier. The white (W) will turn on the electric furnace. The orange wire (O/B) will power the reversing valve. The reversing valve is what switches a heat pump back and forth from heat to cool. The yellow (Y) should turn on the outdoor unit.
If you are at all reluctant or uneasy about doing this, call a professional.

Sometimes wire colors and terminal designations in the thermostat do not match. For normal or standard connections the “R” terminal should be a red wire. The “W” terminal should be a white wire. The “Y” terminal should be a yellow wire and the “G” terminal should be a green wire.
If this is not the norm for your system and you are having trouble making sense of what you see, then call a professional.
If you are feeling brave and want to go to your air handler (furnace) you can double check to see what wires may have been mismatched. Get out your pen and paper and make some notes so it’s not so confusing.
Do not jumper “R” & “C” or you undoubtedly will blow a fuse or short out transformer. Use a steady hand. Be careful where you put your hands. When you are inside the furnace looking at 24 volt stuff you are also very close to higher voltages.
We have all been zapped by static electricity. Those knee jerk reactions contain thousands of volts but no or very little power or amps. It’s the power or amps that are dangerous. A 24 volt transformer delivers very low amps.
Your furnace has a transformer that reduces the house voltage (120/240 volts) to a low control voltage (24 volts) and these transformers are usually 40 amps or less. This is in the very safe range to handle. But we still don’t need to touch it.
Always work safely. Wear good shoes. Don’t be wet or even sweaty. Think about a bird on a wire. How do they do that? How does a bird stand on a high voltage line and not get injured? Simply put, electricity is always trying to find a path to ground and that bird is not in the path. Don’t make yourself that path.
That path could be from one hand to the other right through you heart. Not likely with 24 volts, but electricity is not a thing to trust.

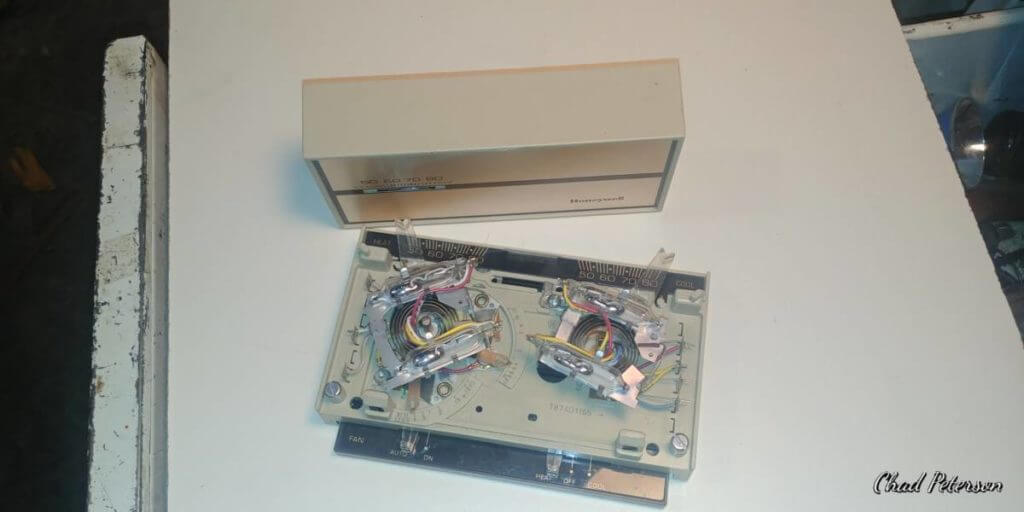
It makes no difference for this discussion if your thermostat is heat only, heat and cool, digital, snap action or the old mercury bulb. All states require the handling of waste mercury thermostats in accordance with state and federal law. Seventeen states further regulate the sale and/or disposal of mercury thermostats.
thermostat-recycle.org
If your system seems to be working but the temperature set point on your thermostat is always off, you may have a problem. But it may just be a simple adjustment.
The set point being off is true in more than one instance. For the sake of simplicity lets just say the thermostat is not heating or cooling to the point you set it to.
Some digital thermostats have a plus or minus 5 degree adjustment in the installer set up portion of their settings.
Again it will be necessary for you to do an internet search using your favorite search tool and find the installer setup for your particular thermostat. Below is a quick guide to find the setup options for some of most popular thermostats.
Couldn’t possibly list all thermostats, but hopefully this will help.
| Honeywell | Access Installer Setup |
| Aprilaire | Access Installer Setup |
| Carrier | Techniclal Support |
| Ecobee | Access Installer Setup |
| Nest | Access Installer Setup |
| Lux | Access Installer Setup |
| Lennox | Search your model # |
| Lockstate | Search your model # |
When you locate the installer setup and start scrolling through your thermostats setting be very careful not to change anything related to setup except for the setting regarding adjusting room temperature.
If you use a thermometer to set the temperature be aware that even setting several of the same thermometers on a table for a short time you will see a difference in their temperatures.
Now lets get into how to test a home thermostat. Most thermostats have a common system for labeling the wires on the wall plate. “R” is 24 volts from the transformer. “C” would be common or the return voltage. “G” is designated for the fan. “W” is for heat and “Y” is for cooling.
With this in mind and everything you have learned about electricity you can now remove the thermostat from the wall plate. Take a good look with good lighting and study the connections.
Usually these letters stand for colors, but don’t trust that they will coincide. “R” could be red. “C” could be anything but usually blue or black. “G” would be green. “W’ hopefully white and “Y’ stands for yellow.
Heat pumps will have an “O” terminal which would likely be orange. No need to test this one for now.
You’re now going to make a jumper wire. Find a small insulated piece of preferably solid wire a few inches long. Something very pliable, like a piece of thermostat wire pr close to the size of the thermostat wire. Strip about a quarter inch of insulation from each end to expose a small amount of wire.
A little caution before you begin. Do not place the jumper between the “R” and “C” terminals. If you do you would create a short and blow a fuse or transformer.
Hopefully your transformer is protected by a fuse. You should locate this fuse and have a spare for emergencies. It would be located in your furnace control panel. Turn of breakers before accessing panel to find fuse.
Some of these fuses are the small car fuses with the plastic head on them and the fuse size written on the head of the plastic. Others are the little glass cylinder with the metal ends.
Have the breakers to indoor unit or furnace turned on to perform this test.
Also turn off the breaker to the outdoor unit, air conditioner or heat pump. Should be labeled in your electrical panel.
If you can normally hear the fan from where your thermostat is mounted then go ahead and place the jumper between the “R” and the “G” terminals. If the fan comes on your test is good.
Next place the jumper between the “R” and “W” terminals and wait until the furnace has come on completely. If so, your test is good.
Have someone stand out by the outdoor unit with your phones on speaker and jumper between “R” and “Y” and you should heat the click of the compressor contactor or relay. Be sure the breaker is off to the outdoor unit. Short cycling is not good and can pop breaker or blow fuses.
If non of these tests provide any clues as to your problem meaning that non of the jumpered terminals turns on anything, then you probably have no power from your equipment transformer.
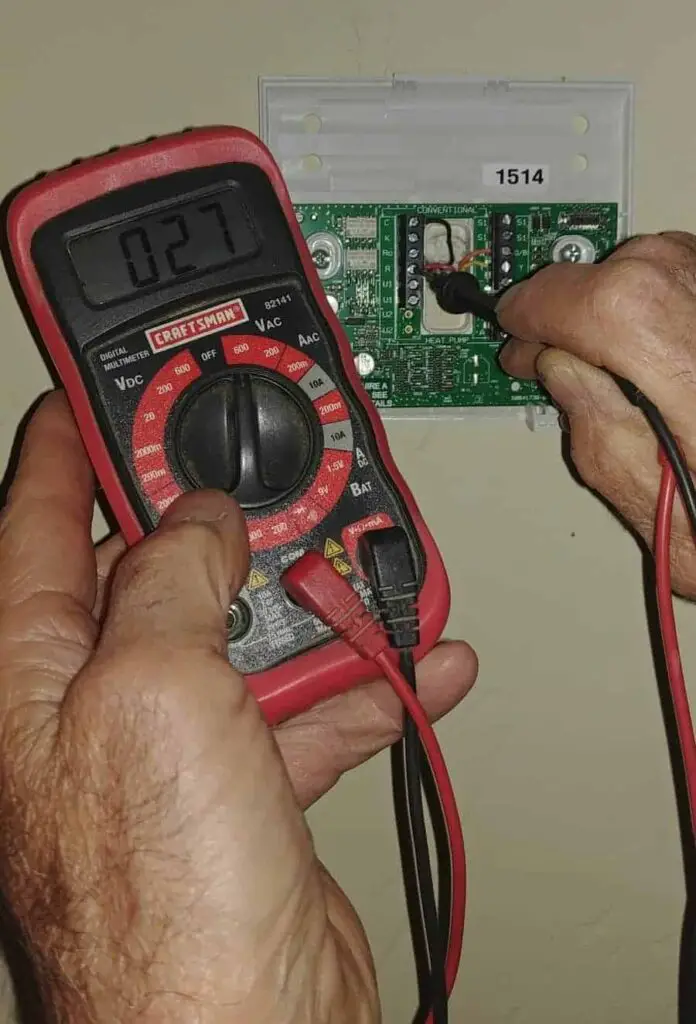
Having a volt ohm meter would greatly aid in troubleshooting this issue. Ten to twenty dollars is enough to purchase a satisfactory meter.

With your meter set on AC volts and and to the lowest setting above 24 volts place the probes between “R” and “C”. If no voltage is read then you”ll have to check the fuse.
Caution: never reach into any control box even to check a fuse without first turning off the power. And then double check yourself.
So now that your thermostats not getting power. What’s next? Get a physical look at the fuse. Most of the time you can visibly see that it’s blown. Be sure to replace the fuse with the exact same replacement.
If it’s too hard to see you can use your volt ohm meter to check it. Put the meter on ohms and put the two leads together. The meter should register a connection.
Then put a lead on each side of the fuse and you should get a reading if the fuse is good. If no reading, install a new fuse.
When to replace a home thermostat.
- When you have a mercury bulb thermostat controlling a heat pump.
- When the screen becomes hard to read
- If it’s more that 15 years old
- It works sometimes
- You have a hard time programming
- You don’t like it
So many new innovations have developed in the world of thermostat control. Intelligent recovery is a huge one. This setting, which you can opt in or out of on Honeywell stats is a money saver, especially for heat pumps.
This feature eliminates the use of an outdoor thermostat that selects the auxiliary heat to come on whenever the outdoor temperature is lower than the set point of the outdoor stat.
The auxiliary heat is the strip heat in the electric furnace. The stuff that runs your bill sky high in the winter. With intelligent recovery, the thermostat takes control and determines when to pull on the auxiliary heat but measuring the run time of the equipment and only turning on the aux heat when the heat pump can’t keep up.
Now you are heating with the cheap heat and only over spinning the meter when necessary.
