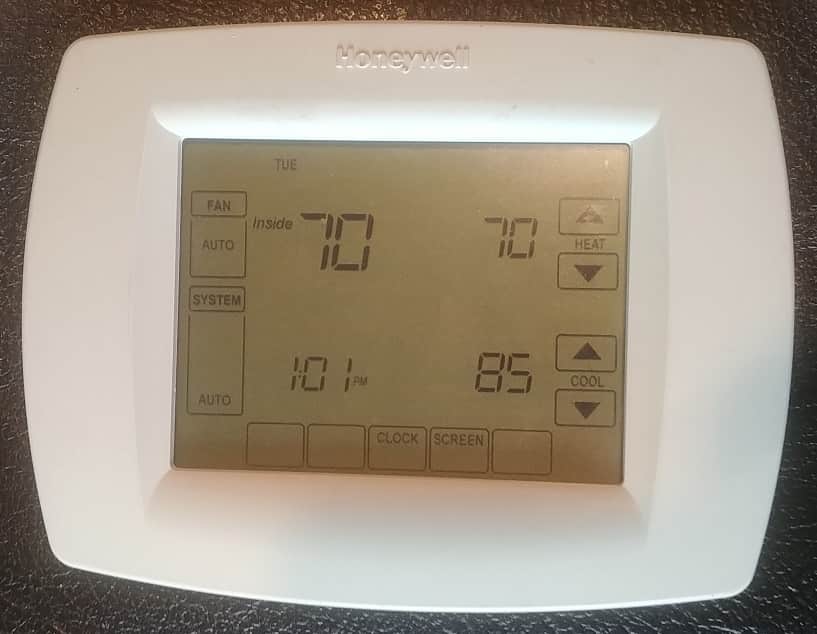
A stuck or frozen screen on a Honeywell 8000 Pro Touch Screen Thermostat does not mean you have to throw it away and buy a new one. Don’t buy a new thermostat until you try this.

Follow these steps, and this should work. It did for me. If it doesn’t work, you are going to end up buying a new thermostat anyway. I have some recommendations at the bottom of this post if it doesn’t work.
Read the more in-depth description that follows this list so I can help you (not prevent you) from breaking something.
- Remove the thermostat from the wall.
- Remove batteries from the back of the thermostat.
- Gently pry the cover off the front.
- Remove the screen and circuit board.
- Very gently pull the two ribbons from the board.
- Reinstall the two ribbons and reassemble the thermostat.
Removing The 8000 Pro From The Wall
This will be an easy task as long as your thermostat is firmly mounted to the wall. Grasp the thermostat with both hands, one on each side of the stat.
This works best if you pull from the bottom or the top. Either one works well. The stat should come off the base with a firm pull. If that works, go to the next step.
If the installer only mounted the stat to the sheet rock without properly anchoring it, the base may come off the wall. Don’t worry. This is an excellent time to fix that. But let’s see if we can fix the thermostat first.
On the top and bottom of the stat in the middle are indentations. Just pry the base from the stat.
Remove The Batteries From The Thermostat
I guess it’s okay if you don’t remove the batteries because they will fall out in the next step anyway. Notice the steel prongs in the middle. Ten of them. Make sure these don’t get out of alignment or bent.
If these prongs get bent, putting the thermostat back on the wall will be very difficult because they won’t line up with the connections on the base.
Gently Pry The Cover Off The Front
I could put my thumbnails under the outside edges of the cover and pop the cover loose. Once even one side comes free from the main body, working the rest of the cover free from the base is relatively easy.
The plastic in these thermostats is really strong, and I don’t think you can break it using your fingernails or even a small screwdriver. I realize not everyone has the right fingernails to do this.
Using tools could leave minor abrasions on the plastic, but that’s not a serious thing to worry about. Work at it, and it will come off.
Remove The Screen And The Circuit Board
While holding the stat and looking into the screen, notice the tabs that slightly latch over the circuit board.
Pull back the tabs with your thumbs, and if you can simultaneously reach your fingers around the back in the middle, pop the circuit board out of its holder.
Now, it gets a little more delicate.
Very Gently Pull The Two Ribbons From The Board
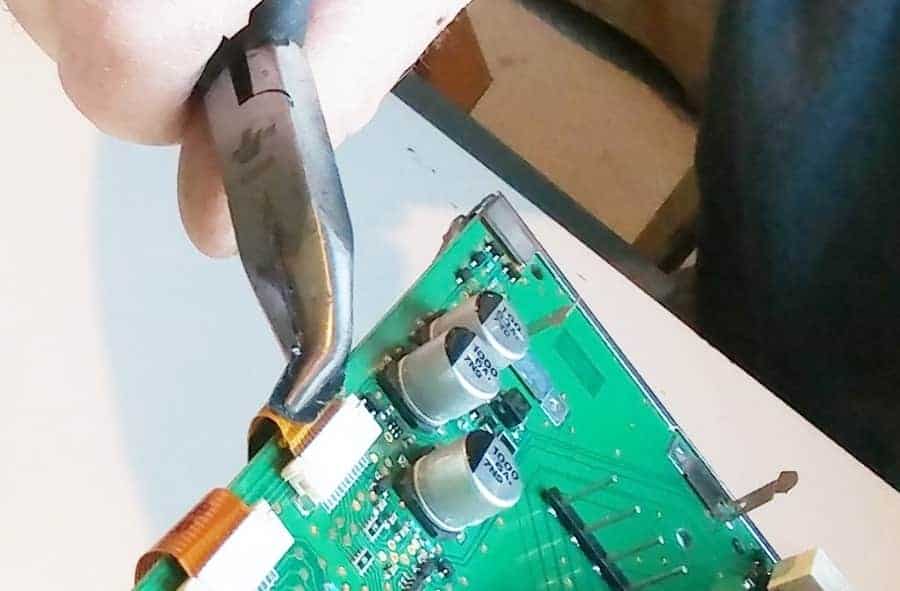
This is the fix. Removing the ribbons and replacing them solved the problem. It was probably a poor connection that was improved by just pulling the ribbon out and replacing it with its socket.

Finding a small pair of needle nose pliers was very helpful. I tried several other methods that seemed just a little scary.
Before I attempted to use the pliers, I put some electrical tape on the inside to cushion the contact of the pliers to the ribbon.
With a bit of coaxing, the ribbons came loose.
Trying to replace the ribbons with my fingers was not going to happen. The pliers, again, were the answer. You can feel the ribbon sort of pop into place as you kindly work at it back and forth into the socket.
I’m unsure which of the two ribbons was or would be the culprit that had the poor connection. It didn’t seem to matter. The ribbon with the most slack was the easiest to R&R.
If you have come this far, you are quite capable of the reassembly.
We all have our favorites, and Honeywell is one of mine. There was a time when I could have taken a hammer to a few of the older models when it came to programming schedules, but that day has gone, and that process is much easier.
I have two stats that I like the most. One is more of a budget model, but that doesn’t cut it any slack. It’s a great control. The Honeywell’s T6 Pro (ad) is available on Amazon.
My all-time favorite is the 8000 Pro. I have three of them. One is at my cabin, which has WiFi, so we can warm it up before we arrive and monitor the inside temperature in case of a heat pump failure. The other two are in our residence to monitor what’s happening while we’re away.
The 8000 Pro is also available at Amazon. Imagine that. You can (ad) click here for the products and prices.
Be sure to match the thermostat to the equipment you have. The part to look for is how many heats and how many cools. These thermostats are versatile and run almost anything from oil furnaces to gas or heat pumps.
